Thanksgiving for The New American Family

Story, Recipes, and Photos by Kaitlin Hill
Complete with a massive turkey, eleven smiling faces, and an elegantly laid table, Norman Rockwell’s Freedom From Want is certainly Thanksgiving’s most memorable artistic representation. The image was originally published in a 1943 edition of The Saturday Evening Post atop an essay by Filipino novelist and poet Carlos Bulosan.
Though iconic, the illustration is no longer an accurate depiction of the modern American family and how it celebrates. As household dynamics change, the family table looks different, but the meaning of Thanksgiving remains the same.
While there are certainly still aproned-mothers, watchful fathers, and good-natured children, like Rockwell has it, a 2015 study by the Pew Research Center showed that families are changing. Americans are having fewer offspring, women are staying in the workforce longer, and millennials are getting married later. These factors, among others, are reshaping the traditional family structure, meaning our holiday tables are hosting more diverse family compositions.
Friends have become a part of the picture too. In 2013, Google Trends noticed an upshot in the number of people searching the term “Friendsgiving,” and Merriam-Webster put it on their “Words We’re Watching” list. In her article for The Atlantic, “How Friendsgiving Took Over Millennial Culture,” author Ashley Fetters credits this shift to the idea that, “families themselves have changed—and non-relatives have become more likely to take on family-like roles in people’s lives.”
However different your gathering may look from Rockwell’s rendering, Bulosan’s writing reminds us that Thanksgiving is a time to remember what makes us the same and brings us together. He writes, “What do we want? We want complete security and peace. We want to share the promises and fruits of American life. We want to be free from fear and hunger.”
In that spirit, here is a Thanksgiving menu that will certainly liberate hosts from fear and guests from hunger. It is formatted for an intimate two-person celebration, but with all the grandeur of a Rockwell-worthy gathering. Have more people coming to dinner? No problem. These recipes are easily multiplied. All you need is a calculator and a healthy appetite.
First Course
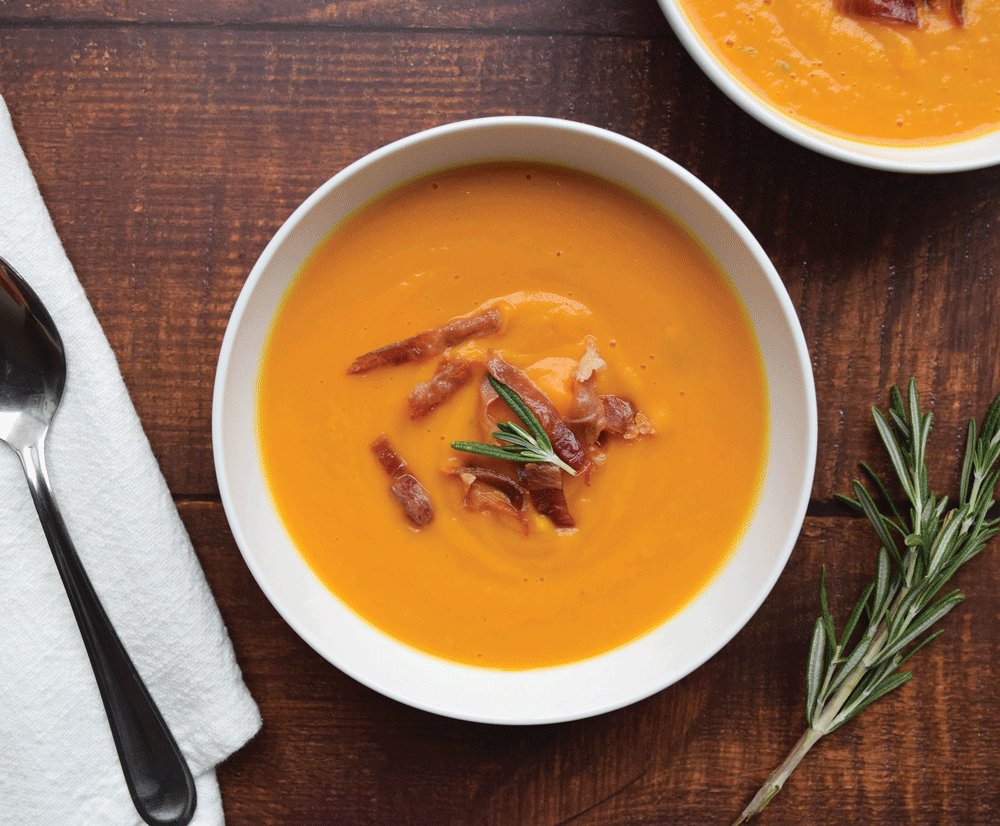
Sweet Potato Soup with Crispy Prosciutto

Velvety smooth with holiday-worthy elegance, this soup is also deceptively easy and comes together in under an hour. Quick-cooked sweet potato is flavored with savory prosciutto and warming rosemary and blended with chicken stock resulting in a soup that is exceptionally creamy without any cream. Better yet, it can easily be made vegetarian. Leave out the prosciutto and use vegetable broth to accommodate those with dietary preferences for a soup that will make everyone happy.
Serves 2 | Time: 45 minutes
Ingredients:
- 2 ounces of prosciutto, roughly chopped
- 1 shallot, thinly sliced
- 1 tablespoon of butter
- ½ teaspoon of minced rosemary, plus more for garnish
- 1 large sweet potato, scrubbed and rinsed
- 1 – 1 ½ cups of chicken broth
- Salt and pepper, to taste
Directions:
- First, prepare the sweet potato by pricking it all over with a fork. Microwave the potato for 10 minutes until it is fork-tender. Cut the sweet potato in half and set it aside to cool slightly.
- Place a large Dutch oven or stockpot over medium heat and add the chopped prosciutto. Cook the prosciutto, stirring occasionally, until browned and crispy. This will take about five minutes.
- Remove the prosciutto bits with a slotted spoon and transfer to a paper towel-lined plate. Reserve.
- Add the butter to the pot and melt. Add the shallots and season them with salt and pepper. Cook the shallots, stirring occasionally, until they are soft and lightly browned.
- Add the minced rosemary and cook for two minutes.
- Using a spoon, scoop the meat out of the cooled sweet potato and add it to the pot with the rosemary and shallots. Discard the skins. Break up the potato using a spatula or wooden spoon.
- Top the sweet potato with the chicken broth. Bring the liquid to a boil and reduce to a simmer. Cook for 20 minutes. Taste the soup and adjust the seasoning.
- Carefully ladle the mixture into a blender and blend until smooth and creamy. If it is too thick, add a little more chicken stock until it reaches your desired consistency.
- To serve, split the hot soup between two bowls and top with crispy prosciutto and a sprig of rosemary.
Second Course
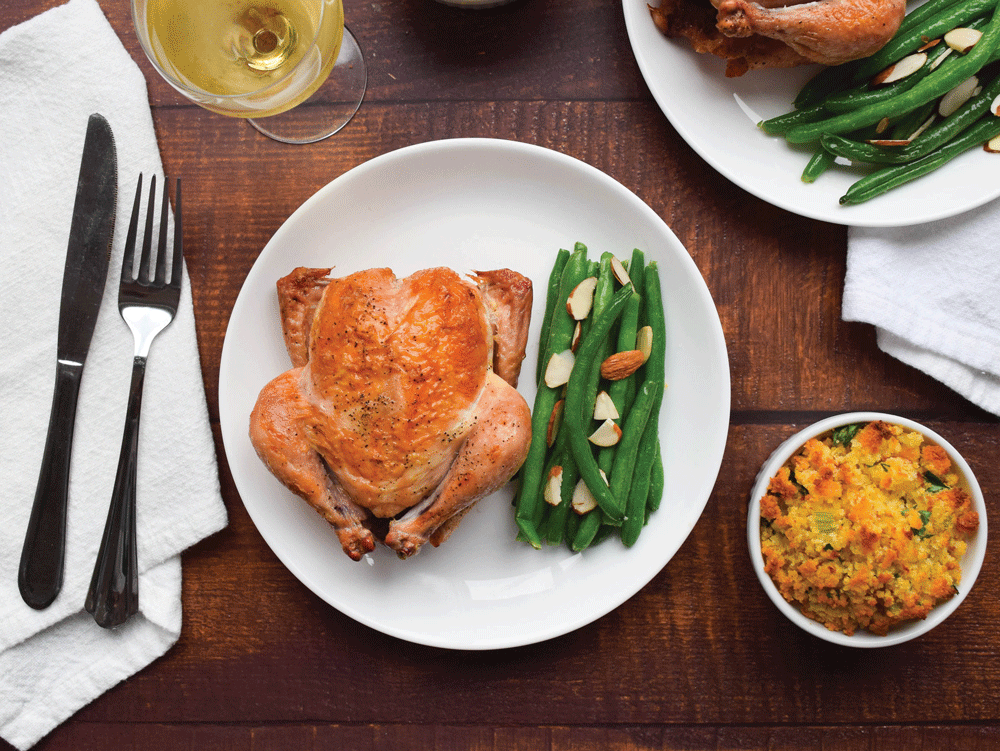
Cornish Hens with Quick Green Beans Almondine and Cornbread Stuffing

Thanksgiving’s classic turkey is simultaneously downsized and upgraded in my individually portioned Cornish hens. Forget hours upon hours in the oven, these little birds roast in under 40 minutes and require no carving. On the side, traditional Green Beans Almondine is given a novice cook-friendly makeover, and store-bought cornbread is a nice twist to conventional stuffing. This main course has all your favorite Thanksgiving flavors without the hassle.
Serves 2 | Time: 1 hour
Ingredients:
- 2 Cornish hens
- 2 tablespoons of butter, melted
- Salt and pepper, to taste
Cornbread Stuffing:
- 2 cups of cornbread, broken up
- 2 tablespoons of butter
- ½ a small yellow onion, diced
- 1 celery stalk, diced
- 2 tablespoons of chicken stock
- 2 tablespoons of parsley, chopped
- Salt and pepper, to taste
Green Beans Almondine:
- 6 ounces of green beans
- 1 tablespoon of butter
- Salt and pepper, to taste
- 2 tablespoons of sliced almonds
Directions:
- To make the cornbread stuffing, place the cornbread rubble in a large bowl.
- Melt the butter in a nonstick pan. Add the onion and celery and cook until both are tender and the onion is translucent. Transfer the onion and celery mixture to the bowl with the cornbread along with the chicken stock and parsley. Mix to combine. Taste seasoning and adjust. Set aside.
- Preheat the oven to 425°F. Place a wire rack over a cookie sheet.
- Rinse the hens inside and out. Remove and discard any gizzards or pinfeathers that remain. Pat the birds dry and place on the wire rack.
- Brush the birds all over with the melted butter and season generously with salt and pepper.
- Divide the cornbread stuffing evenly between the two hens, and stuff a portion into each bird’s cavity.
- Alternatively, the stuffing can be cooked in ramekins. To follow this method, preheat the oven to 350°F. Make the stuffing as instructed and divide it between two buttered 6-ounce ramekins. Be sure to pack it in firmly. Bake the stuffing for 30 minutes until browned on top and heated through. You can do this in advance of cooking the hens and simply reheat the stuffing in the 425°F oven for the last 5 – 10 minutes of the hens’ baking time.
- Transfer the hens to the preheated oven and roast for 30 – 35 minutes until the skin is browned and the juices run clear. A thermometer inserted between the leg and thigh should read 165°F. Remove the birds from the oven and wrap with foil to rest while you make the green beans.
- To make the green beans fill a small pot three-quarters of the way with water. Bring the water to a boil and add a generous pinch of salt. Add the green beans and boil, uncovered, for 1 – 2 minutes, until just tender. Drain the water and return the beans to the pot and the pot to a low flame. Add the nob of butter and salt and pepper. Cook, while stirring, until the butter is melted and the beans are glazed, about 1 – 2 minutes. Add the almonds and toss to combine.
- Once the hens have rested for 10 minutes, they are ready to serve with a side of cornbread stuffing and green beans almondine.
Third course:
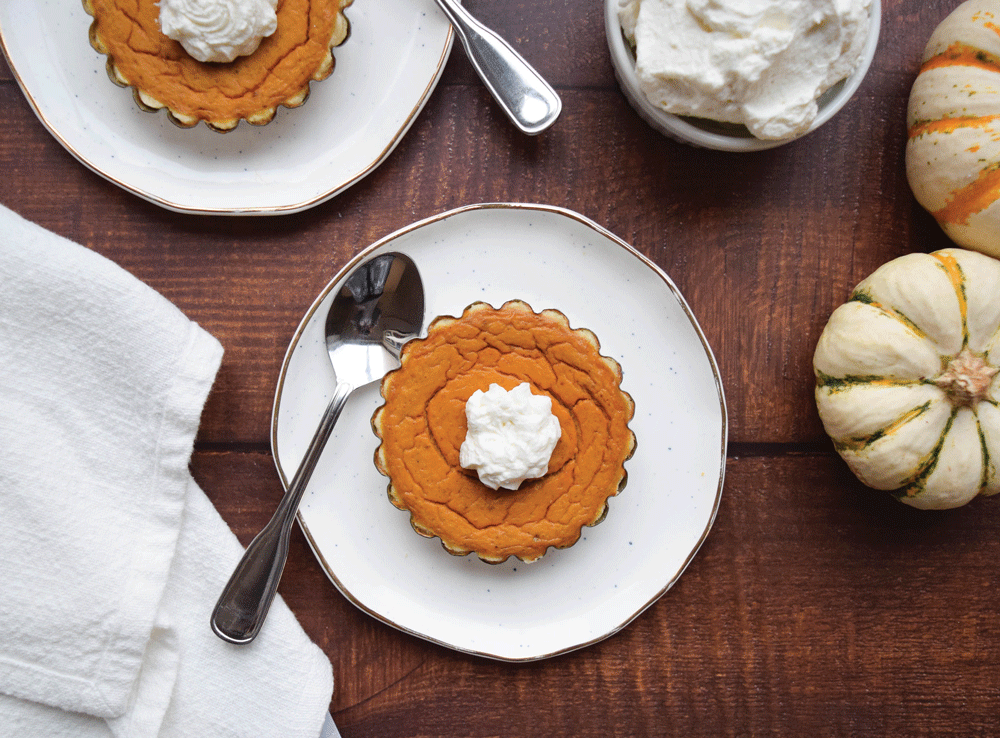
Mini Pumpkin Tarts with Maple Whipped Cream

No Thanksgiving celebration is complete without pumpkin pie. My mini versions are the perfect size to enjoy one or two, depending on how stuffed you are. A touch of maple in the whipped cream takes these little treats over the top for a final bite to cap off a day of celebrating.
Makes: 4 mini tarts | Time: 1 hour 30 minutes
Ingredients:
- 1 cup of all-purpose flour
- ½ teaspoon of salt
- ½ teaspoon of sugar
- 1 stick of cold butter, cubed
- 2 ½ – 3 tablespoons of ice-cold water
Filling:
- ⅓ cup of granulated sugar
- ½ teaspoon of cinnamon
- ½ teaspoon of salt
- ¼ teaspoon of ground ginger
- ⅛ teaspoon of ground cloves
- 1 egg
- 7.5 ounces of pumpkin puree
- 6 ounces of evaporated milk
Whipped Cream:
- ½ pint of heavy whipping cream
- 2 tablespoons of confectioners’ sugar
- ¼ teaspoon of maple extract (or vanilla)
Directions:
- To make the crust, combine the flour, salt, and sugar together in a medium bowl. Add in the cubed butter, coat it with the flour, and work it in with a pastry blender or fork until the butter is the size of peas.
- Add the water little by little, mixing with your hands, until the pastry starts to come together in a ball. Divide the dough into four equal portions and shape each portion into a disc. Wrap each piece of dough in plastic and place in the fridge to chill for one hour.
- Preheat the oven to 350°F.
- After an hour, remove one dough disc from the fridge. Roll it out until it is a quarter of an inch thick and wide enough to be pressed into the bottom and up the sides of a 3-inch tart pan. Cut off any excess. Prick the base of the tart all over with a fork.
- Repeat the process with the remaining three dough discs. If the dough has warmed up, return the shells to the fridge for 10 minutes before baking to prevent shrinkage.
- Place the tart shells on a cookie sheet and transfer to the preheated oven. Bake for 8 – 10 minutes until lightly browned. Remove from the oven and let cool.
- To make the filling, whisk the granulated sugar, spices, and salt together in a small bowl.
- In a separate bowl, whisk together the egg, pumpkin puree, and evaporated milk.
- Add the sugar and spice mix to the pumpkin and whisk to combine.
- Divide the filling between the cooled tart shells and return them to the oven. Bake for 15 – 20 minutes until the filling is set with just a little wiggle in the center. Let the tarts cool completely.
- While the tarts are cooling, make the whipped cream.
- Place the cream in a large bowl. Using a hand or stand mixer fitted with a whisk attachment beat the cream until it begins to thicken. Sprinkle in the confectioners’ sugar and continue to beat. Add the maple extract and whip the cream until it has thickened to a spoonable consistency.
- Top each tart with a dollop of whipped cream and serve.
Kaitlin Hill is a Culinary Institute of America trained chef, owner of Kait-Made Catering, and the creator of the Emotional Eats Blog where she shares her original recipes and studies in food history. To read more, visit www.emotionaleats.com.
This article first appeared in the November 2019 issue of Middleburg Life.


